Clash Verge Rev Download & Install Manual | Clash Verge Rev v2.4.4 Network Tool
Clash Verge Rev is the successor to the Clash Verge project, a Clash Meta (Mihomo) GUI client developed based on Tauri. It inherits the clean interface of Clash Verge and features the built-in latest Clash.Meta kernel, supporting Windows, macOS, and Linux. Official Repository ↗

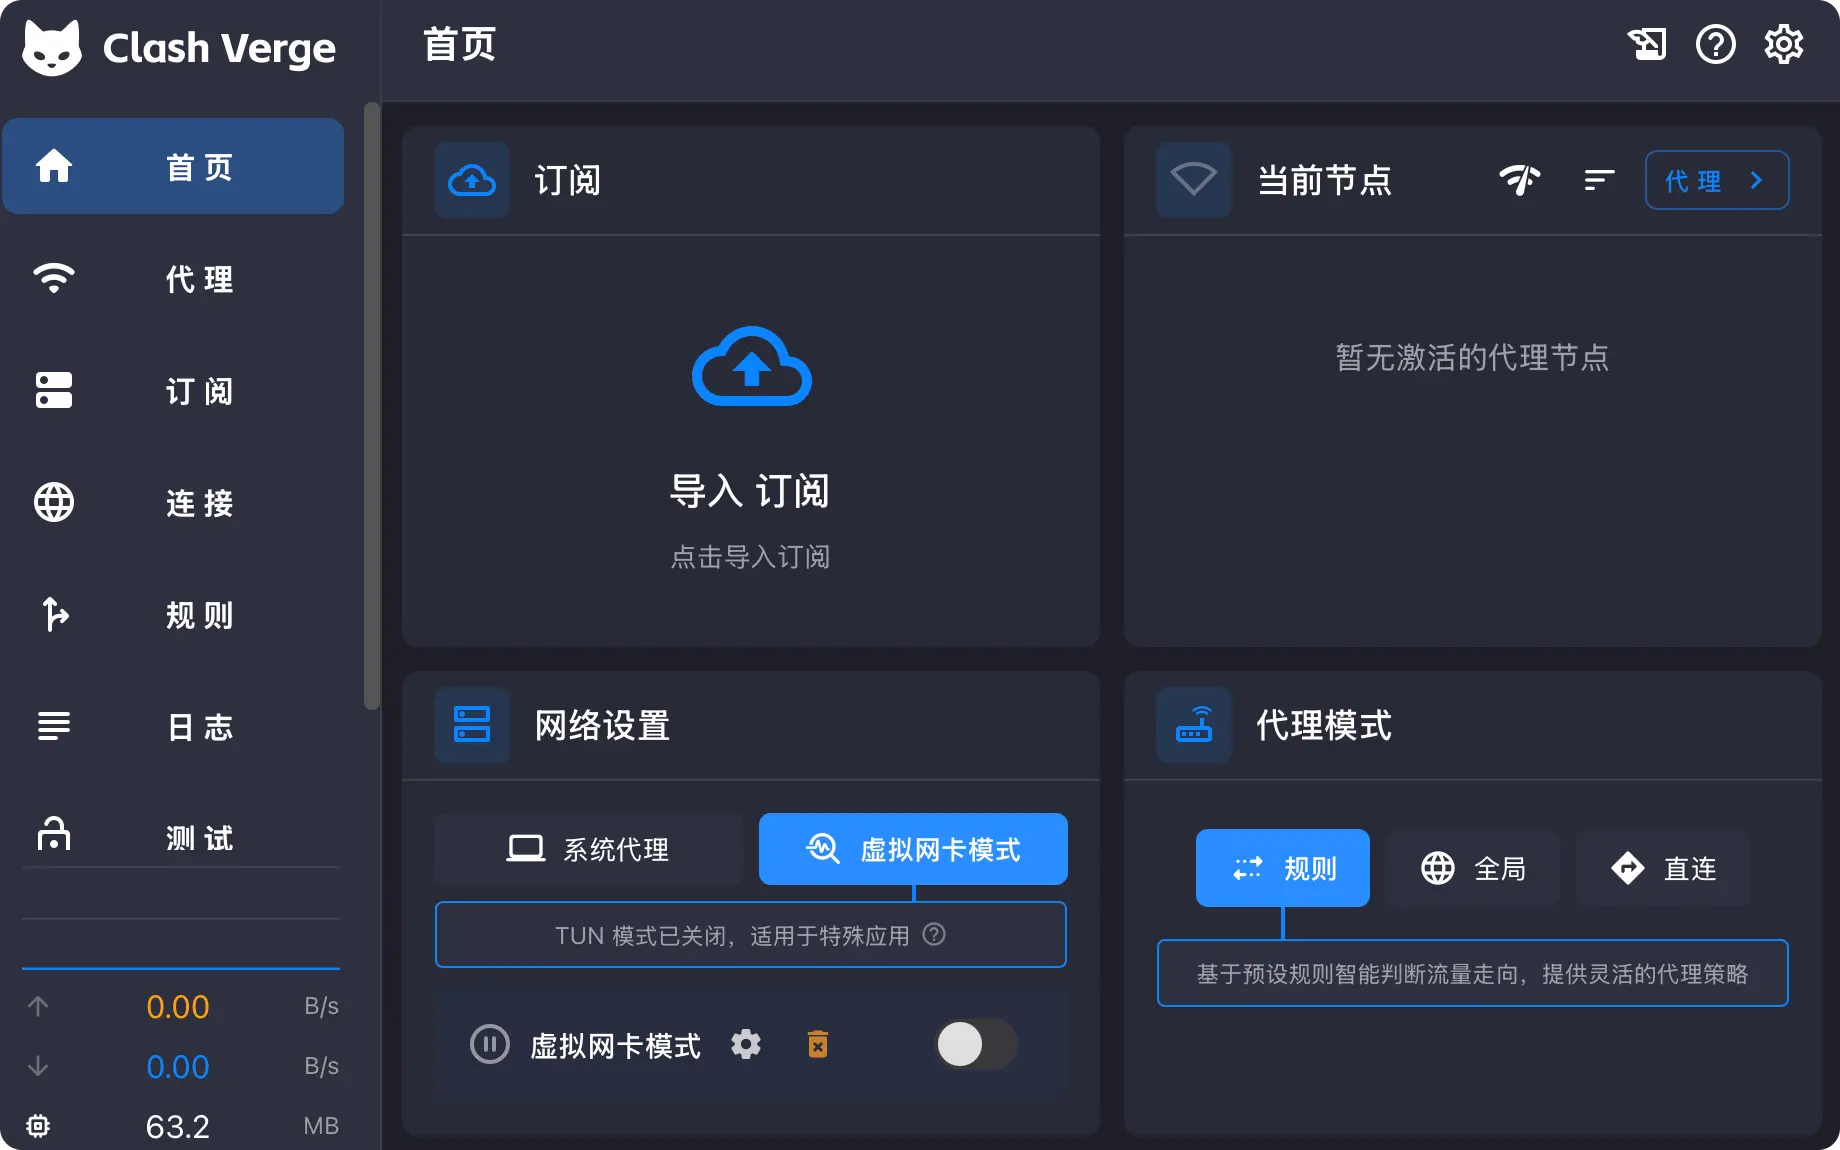
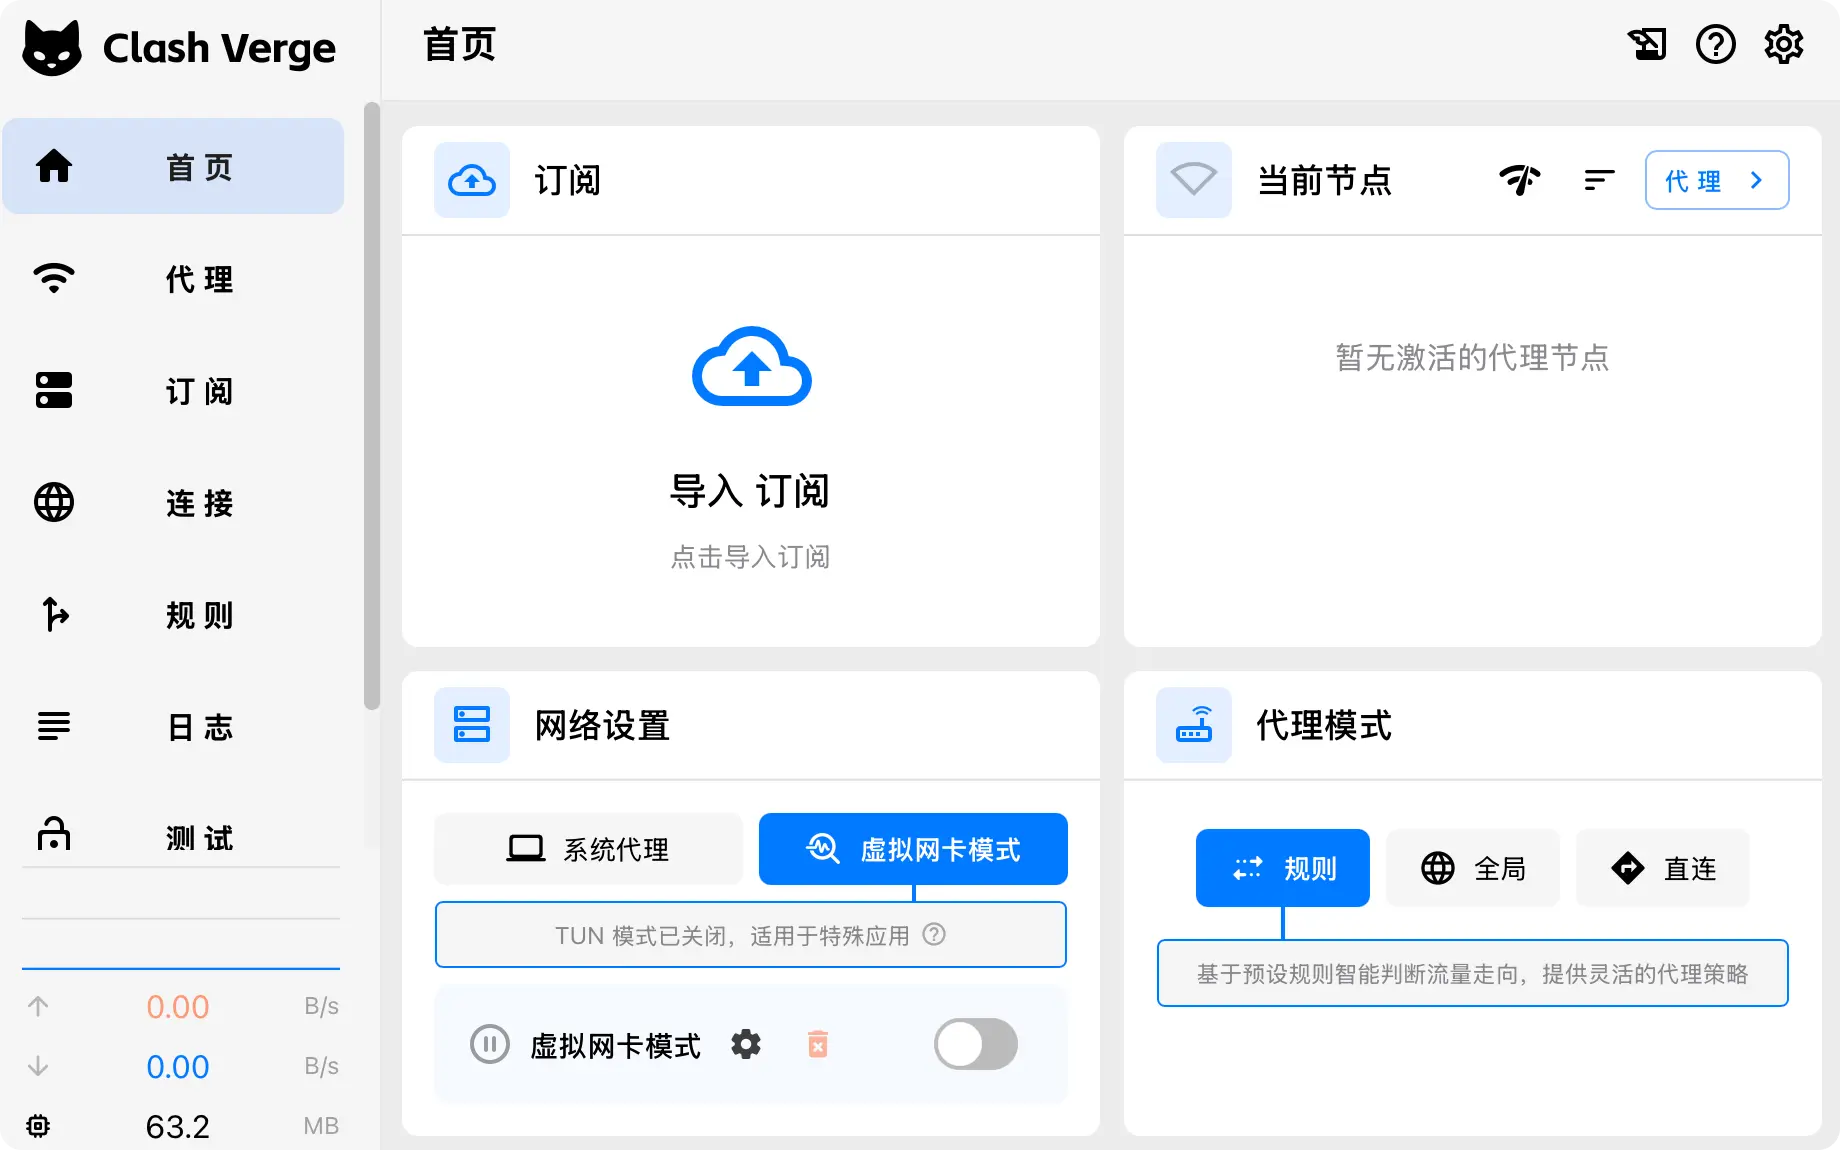
App Preview:
Clash Verge Rev Download
Below are the download links for Clash Verge Rev versions. We recommend downloading the latest version for the best experience.
| Platform | Architecture | Description | Official Download | Fast Download |
|---|---|---|---|---|
| Windows | ⭐Recommended Most Users | Direct Link | ⚡️Fast Link | |
| macOS | M1/M2/M3 Chips | Direct Link | ⚡️Fast Link | |
| Old Intel Macs | Direct Link | ⚡️Fast Link | ||
| Linux | .deb Package | Direct Link | ⚡️Fast Link | |
.rpm Package | Direct Link | ⚡️Fast Link |
For full version history, please visit GitHub Releases.
1. Download and Install
According to your device system, verify the version (Windows/Mac/Linux) in the table above and click download.
2. Get Subscription
Clash Verge Rev acts as a client interface and requires initial configuration for internet connectivity.
If you haven't acquired a subscription configuration yet, discover how to select a suitable subscription or Click here to register and claim 1G trial access ↗.
- Log in to the official website
- Access the dashboard
- Click
"One-click Subscription"and then"Import to Clash Verge Rev"
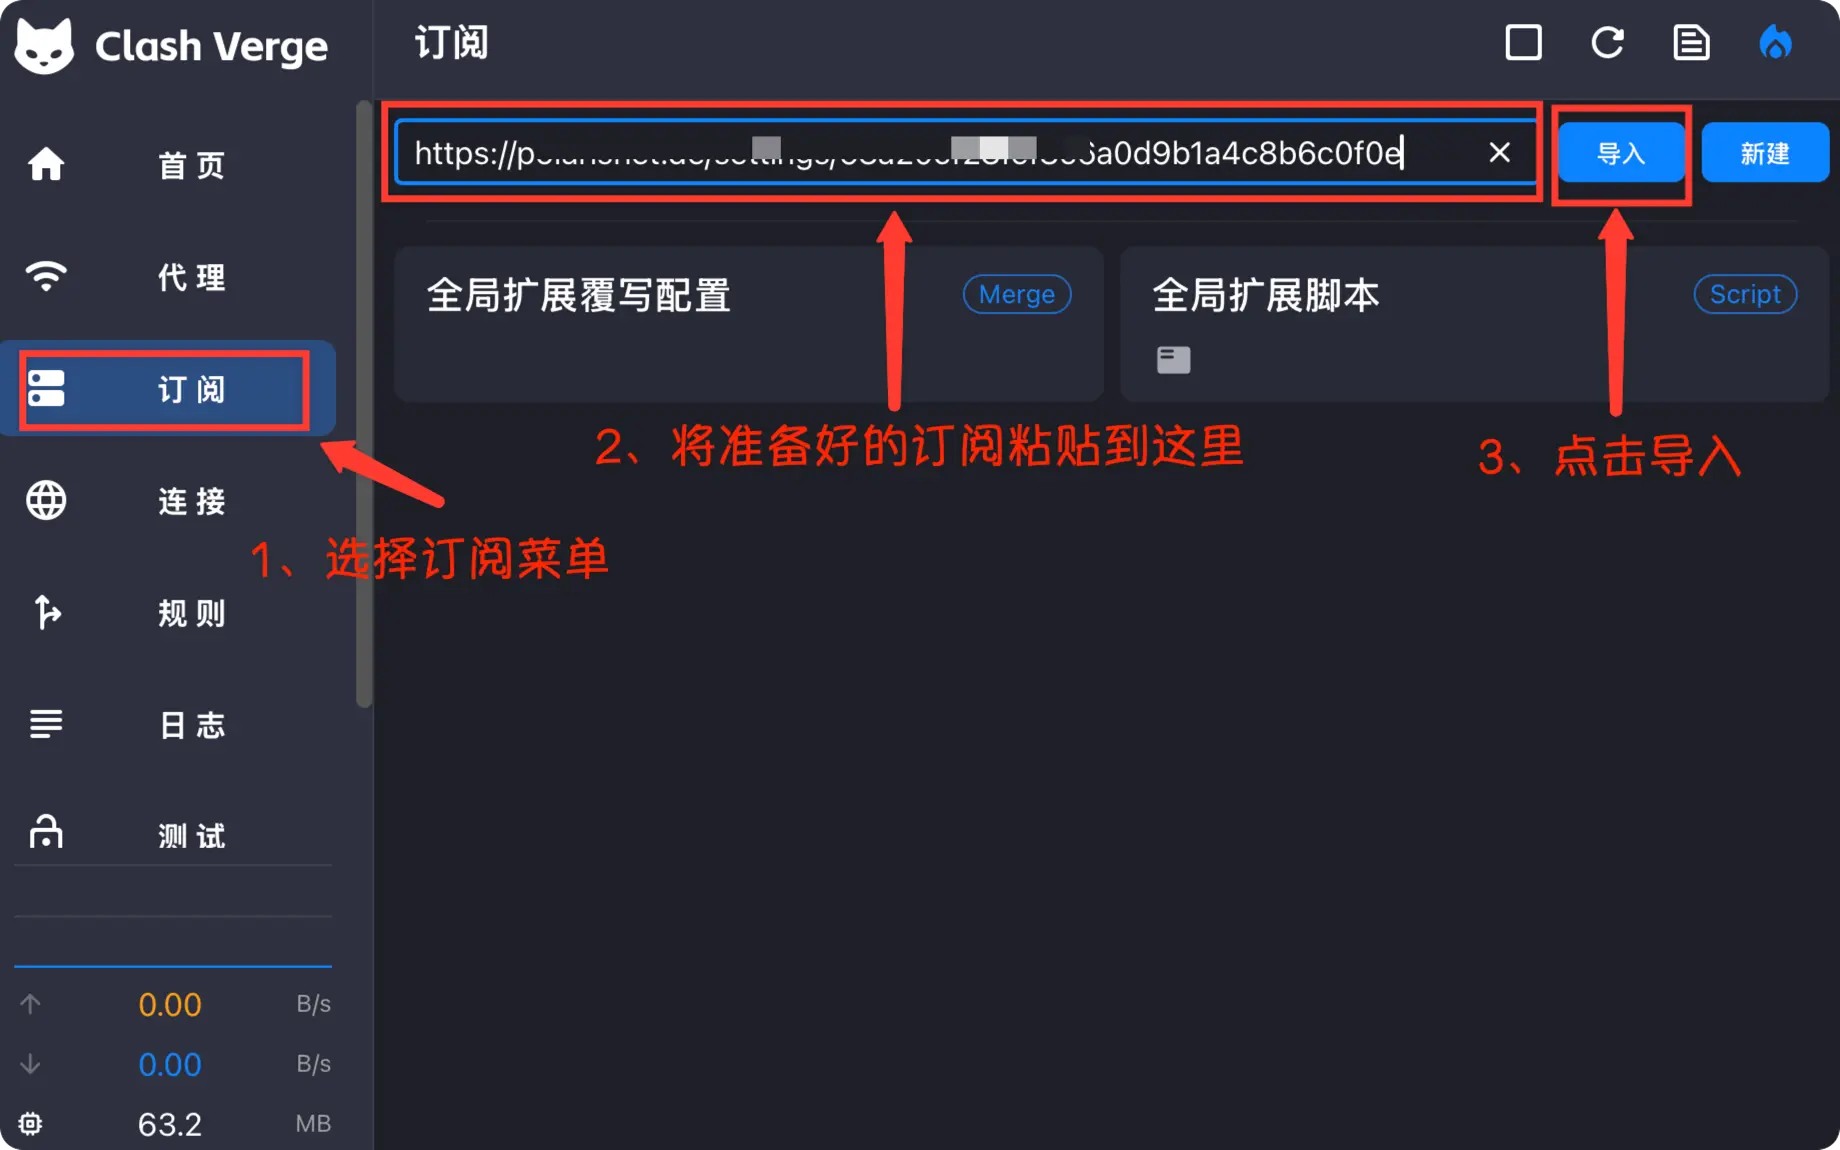
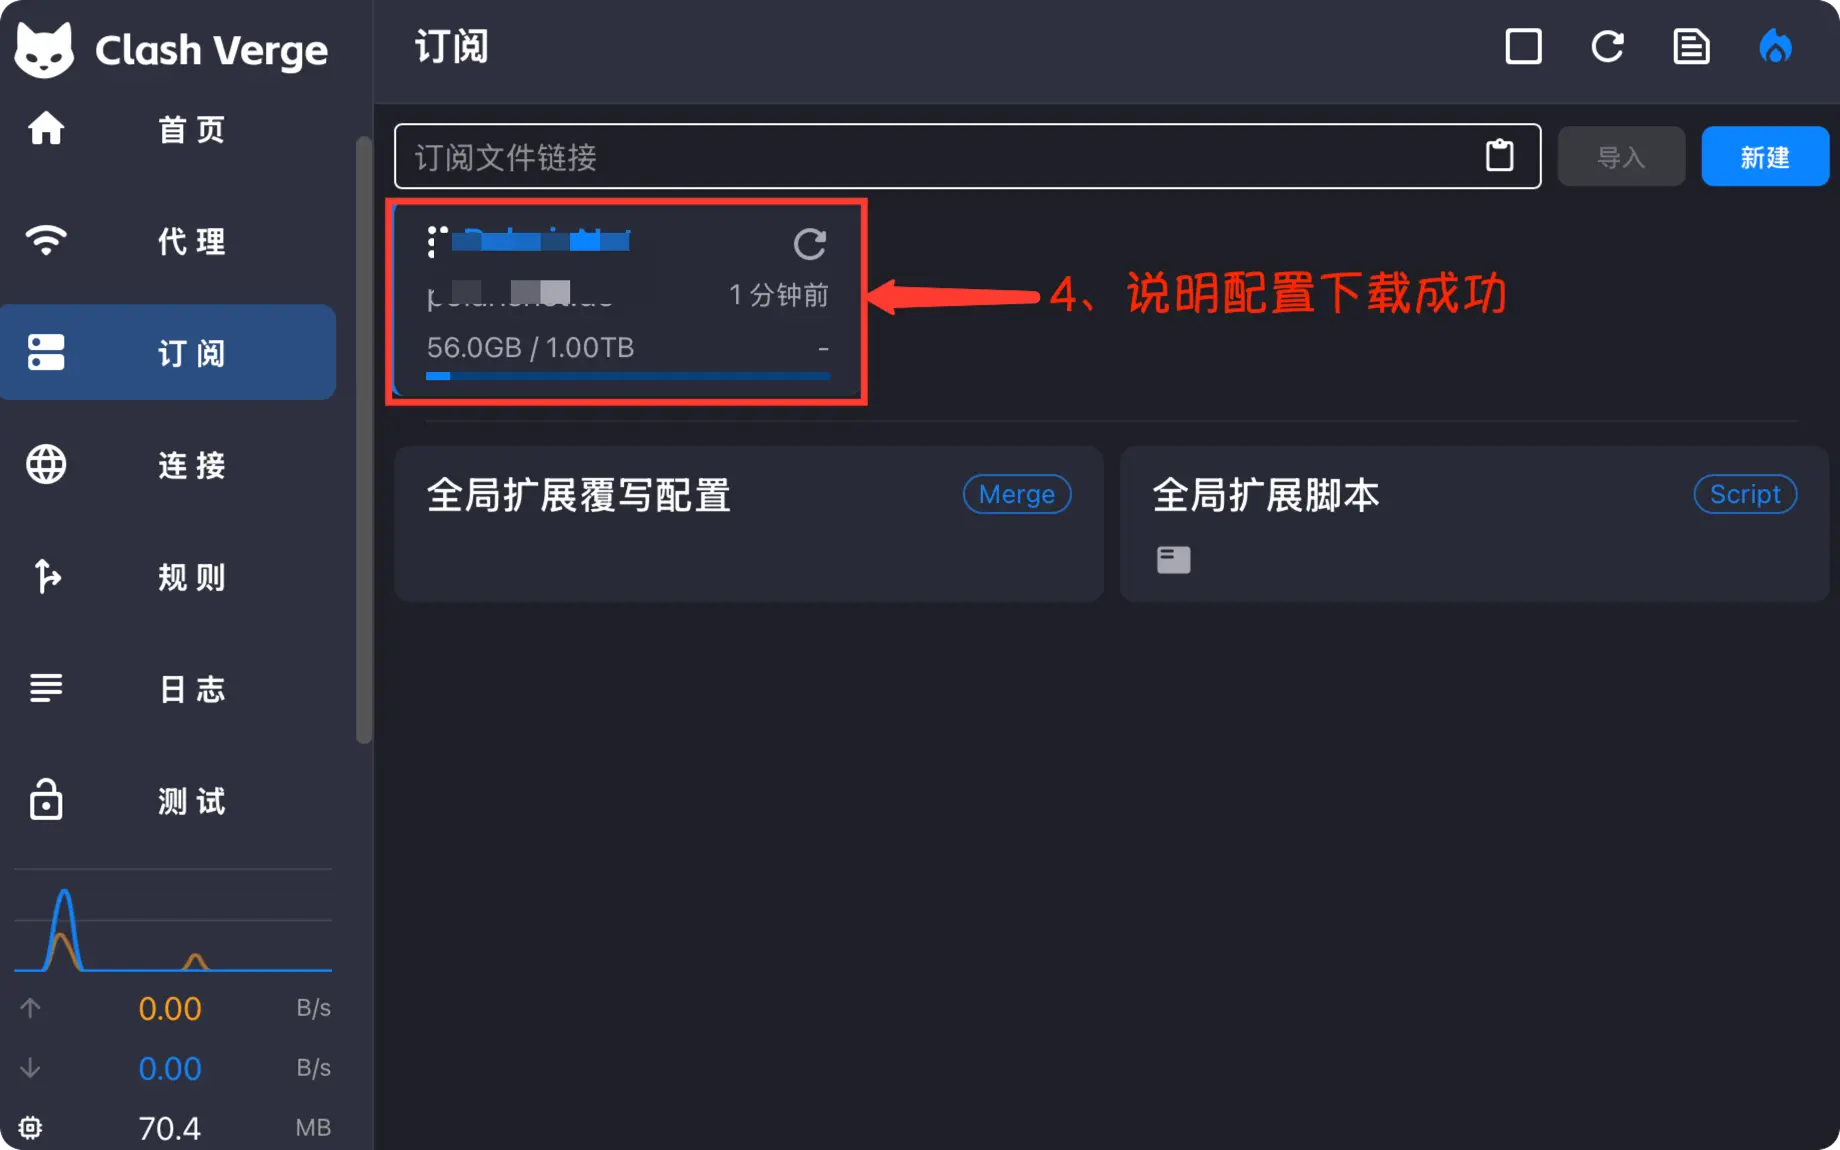
3. Import Configuration
- Launch the
Clash Verge Revclient - Locate
Subscriptionin the sidebar -> Paste the subscription URL into the input field -> ClickImport
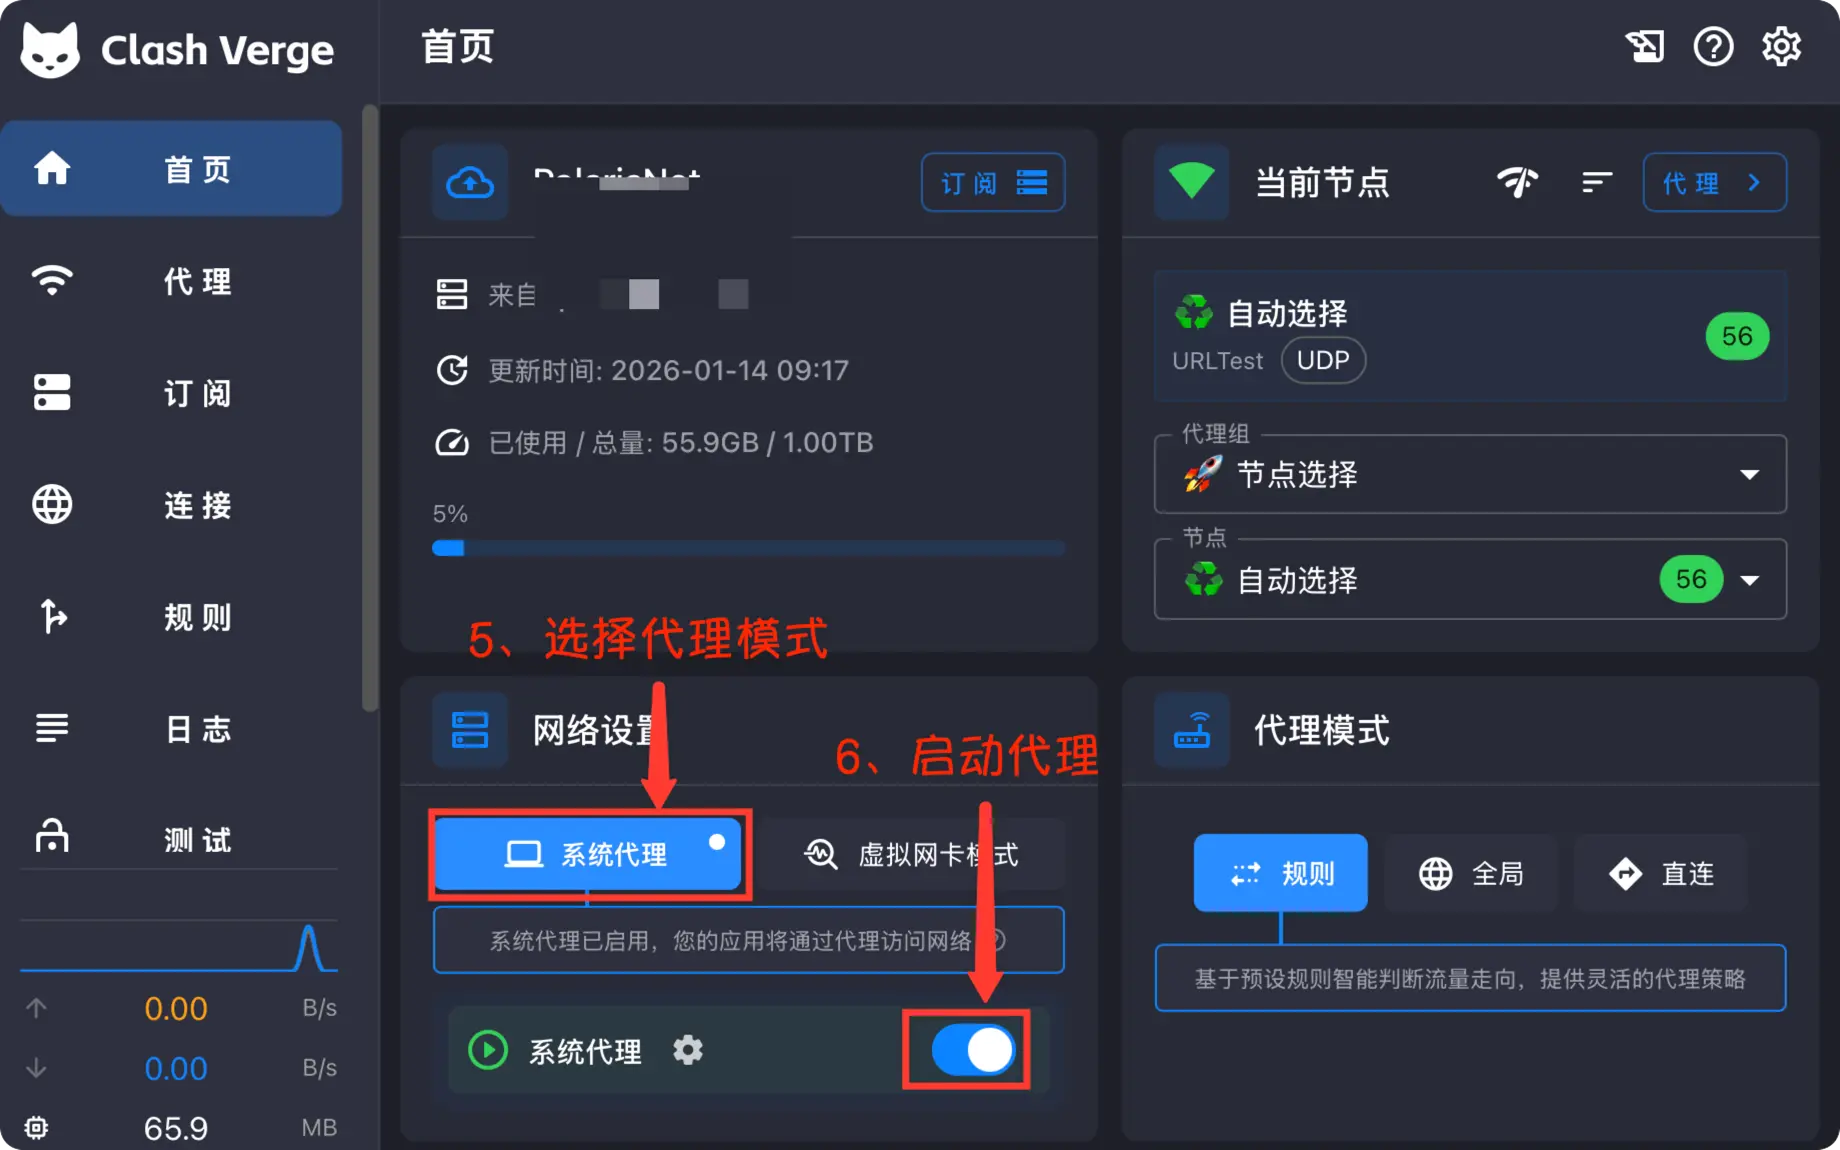
4. Select Node
- Click "Proxy" in the sidebar.
- Expand the "Proxy" or "Select" group (names may vary by configuration).
- A list of nodes will be displayed, click to select a node (usually there will be a latency test value).
- Auto Select: Automatically selects the node with the lowest latency.
- Rule: Automatic routing according to rules (Received Recommended).
- Global: Forces all traffic through the proxy (Not recommended for daily use).
5. Start Program
- Click "Settings" in the sidebar.
- Find the "System Proxy" switch and turn it on.
- At this point, your browser should be able to access the international network.
Now the initial configuration is complete. Try visiting Google or Youtube to see the effect.